Most ceramic coatings look fine at the one-year mark, which is exactly why owners skip the check. The problems that matter, like thinning top layers, bonded contamination, and water that no longer beads, rarely show up in a quick rinse. For vehicles in the Chicago suburbs, a full Illinois winter of road salt adds another variable. This guide explains what a professional checks during a ceramic coating inspection in Illinois, what the results tell you about SiO₂ coating longevity, and what you can do yourself between visits.
Table of Contents
- Quick Takeaways
- What a 12-Month Inspection Actually Covers
- Gloss, Clarity, and Haze Under Controlled Light
- Water Behavior and Bonded Contamination Testing
- Edges, Seams, and Other High-Wear Areas
- Illinois Winter Salt and Freeze-Thaw Stress
- Maintenance Habits That Change the Result
- Inspection Approaches Compared
- When to Correct, Top Up, or Recoat
- Frequently Asked Questions
- References
Quick Takeaways
| Key Insight | Explanation |
|---|---|
| Schedule the check near the install anniversary | A coating installed in November reaches its one-year mark after one full winter. Booking the visit close to that date gives the cleanest comparison against install-day photos. |
| Judge beading only after decontamination | Tight, round beads that roll off quickly are a good sign. Flat sheets, slow water, or spots that stay put usually mean bonded contamination or worn top layers. |
| Check edges and seams first | Door jambs, lower panels, and panel edges show wear before flat surfaces do. A flashlight at a low angle reveals thin coverage and lifting that a normal wash hides. |
| Rinse lower panels after salt events | Road salt sits in wheel wells and rocker areas through repeated thaws. Rinsing those zones after salt exposure matters more than the scheduled wash. |
| Avoid automatic brush washes in winter | Brushes drag grit across the coating and leave fine marring that becomes obvious under inspection lights at twelve months. |
| Keep a written care log | Record wash dates, products, and salt events. A dated log makes it far easier to explain a change in gloss or beading at the inspection. |
| Match the fix to the finding | Light haze is usually a decontamination and topper job. Panel-wide failure after decontamination points to preparation or application, which needs a professional evaluation. |
What a 12-Month Inspection Actually Covers
Why the first year is the real test
A ceramic coating goes through its first full cycle of seasons by the twelve-month mark. That means summer heat and UV, fall leaves and tree sap, winter salt and cold, and spring pollen and rain. Each condition attacks the surface differently, so a check at this point shows how the coating is actually behaving.
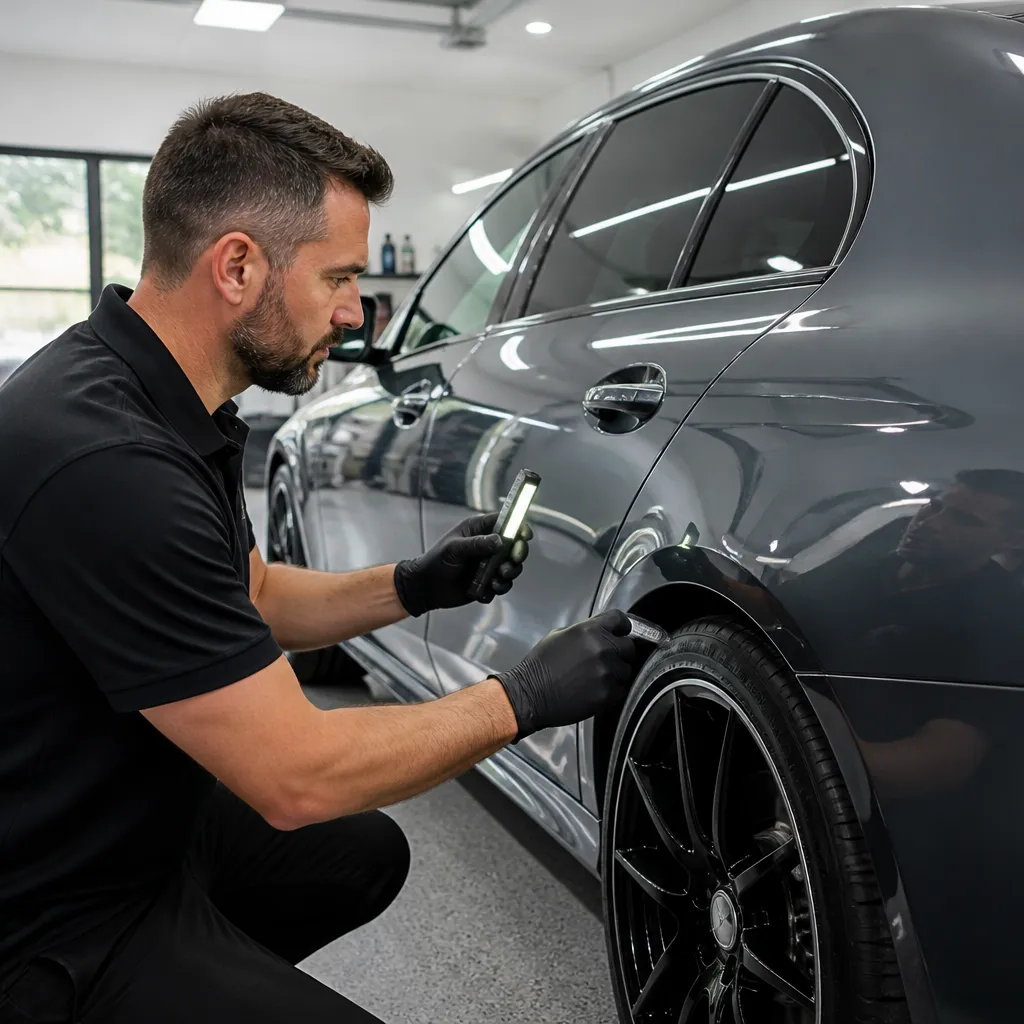
Most early failures trace back to preparation or application, not the chemistry itself. If a coating went on over paint that was not fully decontaminated or polished, problems usually appear within months. By month twelve, we can tell a healthy coating from one that is quietly wearing thin.
How the visit is sequenced
We start with a wash and decontamination on a cool, shaded surface, because you cannot judge gloss through a film of road grime. Next comes the visual pass under controlled lighting, followed by the water test, the contamination check, and a close look at edges and seams. Only after that do we compare what we see to install-day photos, if the owner has them.
After seven years and more than 500 vehicles detailed, we have learned that the order matters. If you judge beading before decontamination, you are measuring dirt, not the coating. Owners who arrive after a DIY wash are often surprised to find the coating still performs well once the surface is truly clean.
A coating that looks fine after a quick rinse can still be failing underneath. The inspection is about what the paint does when it is clean and under good light.
Pro tip: Schedule the check near the installation anniversary and keep the install-day photos in one folder. A side-by-side comparison of the same panel at day one and month twelve tells you more than any single reading.
Gloss, Clarity, and Haze Under Controlled Light
Reading gloss panel by panel
Gloss should look uniform across the car. We compare the hood, roof, and trunk lid side by side, because horizontal panels take the most UV and the most contact from rain and washing. If the roof looks duller than the doors, the difference usually shows up as a fade pattern, not a random defect.
Lighting does most of the work here. A garage ceiling light hides haze that becomes obvious under a directed inspection light at a low angle. Owners trying to check their own coating often miss this, which is why a trained eye at one year is worth the time.
Haze and micro-marring you can see from the driver's seat
Haze is a cloudy veil that sits on the coating. It usually comes from layering incompatible sealants or dressings, leaving polishing residue on the surface, or using abrasive wash media. A light haze is often removable with a decontamination pass and a maintenance cleanser, without touching the coating's core.
Swirls and fine micro-marring show in direct sun and reflect wash technique more than age. Many automatic brush washes leave a web of fine marks that becomes obvious at twelve months. Heavy machine correction is the wrong answer here, because every aggressive pass removes some of the layer you paid to protect.
A practical rule: if a defect shows only under the inspection light and disappears after a gentle wash, leave it alone. If it stays after decontamination, it is time to discuss a light polish with a fine finishing step.
Water Behavior and Bonded Contamination Testing
The water beading test, step by step
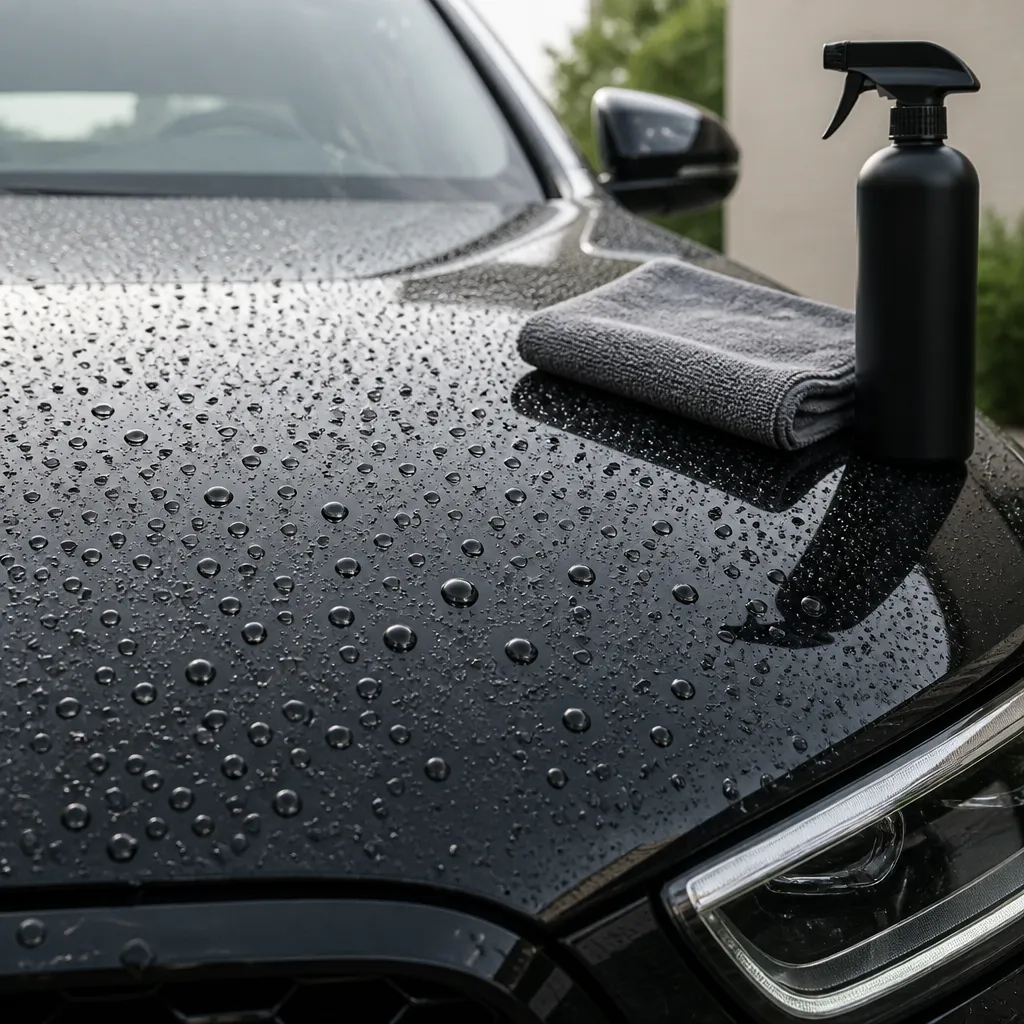
Spray plain water across a cool panel and watch what it does in the first few seconds. A healthy SiO₂ coating forms tight, round beads that roll off quickly and carry dirt with them. Flat sheets, slow-moving droplets, or spots that stay put are signs that the top layer has worn or been contaminated.
Beading alone is not a pass grade. A coating can bead well while carrying a layer of bonded contamination on top, and that layer is what makes a finish look dull. The water test always comes after decontamination, never before.
Bonded contamination that washing will not remove
Bonded contamination includes iron fallout from brake dust, tar from road work, tree sap, and overspray. After washing, run a hand over the panel inside a thin nitrile glove or a plastic bag. Gritty spots that survive the wash are bonded contaminants, and they need an iron remover, tar remover, or clay before you judge the coating.
An iron remover reacts with embedded metal particles and shows them as streaks where they sit, which makes them easy to map. Once the surface is clean, the water test becomes meaningful. In our experience, the gap between a dull-looking coating and a healthy one often comes down to this step rather than to the coating itself.
Pro tip: Run the water test on a cool, shaded panel. A hot panel flash-dries the water and makes a healthy coating look worse than it is.
Edges, Seams, and Other High-Wear Areas
Door jambs and lower panels
Edges are where a coating shows its age first. Door jambs, the inner edges of the hood and trunk, and the lower sections of the doors take repeated contact from towels, hands, and wash mitts. Thin coverage at these points, which is common where an application rushed past edges, shows up as dullness or patchy beading.
We inspect these areas with a flashlight at a low angle rather than trusting a glance from standing height. Most owners never open a door and look at the jamb, so the first sign of wear often appears in a seam nobody checks. A quick pass with a light at each door opening tells us more than a full wash does.
Front bumper, mirror caps, and wheel arches
The front bumper and the leading edges of the mirror caps take the most stone impact on Illinois highways. Look for micro-chips, which appear as tiny bright dots, and for areas that have lost gloss around them. A chip is not always a coating failure, but it is a reason to check whether the coating is still bonded around it.
Wheel arches deserve attention for a different reason. Brake dust and road tar bond to lower panels and hide the coating's real condition underneath. Clean those zones thoroughly before you judge the paint behind them.
Illinois Winter Salt and Freeze-Thaw Stress
What one winter of road salt does to a coating
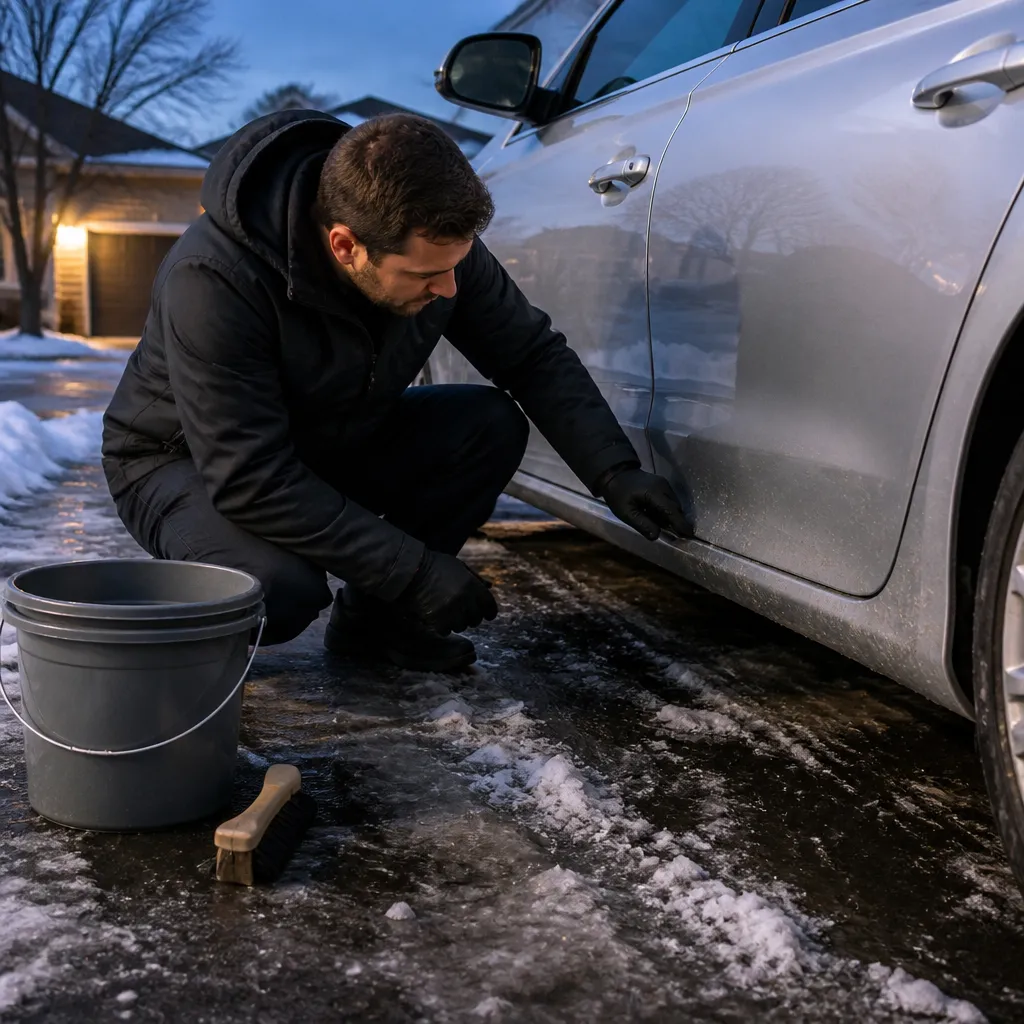
Road salt is the biggest variable we see on coatings in the Chicago suburbs. Brine and rock salt get thrown onto lower panels, wheel wells, rocker panels, and the underside of the car, then sit there through repeated thaws. Salt does not destroy a properly applied coating on its own, but it accelerates contamination and makes grime bond to a surface that has gone unwashed.
A coating installed in November 2025 reaches its one-year mark now, after its first full winter of salt, cold, and freeze-thaw cycles. That makes this the first inspection that shows how the coating handled real Illinois conditions rather than a mild season.
Rinsing lower panels and wheel wells after salt events
The most effective step an owner can take is to rinse lower panels and wheel wells after salt exposure, rather than waiting for the next scheduled wash. Use a gentle spray at low pressure and keep the nozzle away from panel edges and seams, where high pressure can lift a weak spot. Avoid blasting directly into door seals and trim.
Automatic brush washes deserve caution during the season. They can drag grit across the coating and leave the fine marring we see at the one-year check. Touchless or hand washes are the better choice when salt is on the roads, as long as the car is rinsed well afterward.
Maintenance Habits That Change the Result
Wash frequency and method
Our baseline for a coated car in the Chicago suburbs is a wash every one to two weeks during winter, or whenever salt is visible. In warmer months, every two to three weeks is reasonable if the car stays clean. A car parked under trees or near construction needs more frequent washing regardless of season.
Use the two-bucket method, a pH-neutral soap, and a clean microfiber wash mitt. Dry with a soft towel or a blower rather than dragging a towel across the paint. Avoid harsh degreasers and acidic wheel cleaners on the coating, since repeated use can dull the surface faster than normal road exposure.
A maintenance spray made for ceramic coatings, used according to its label, helps keep water behavior strong between visits. Adding it too often, or layering incompatible products, causes the haze described earlier. Less product applied to a clean surface beats more product applied over residue.
Records and photos to bring to the visit
Keep your installation paperwork, including the coating name, the install date, the warranty card, and the care instructions. Photograph each panel on install day and after each season, using the same angle and lighting. Those photos turn a vague sense that the car looks worse into a clear before and after.
Pro tip: During the first winter, log the date and the wash product after every salt event. When a panel looks different at twelve months, that log narrows down the cause quickly.
Records also help if a warranty question comes up. Warranty terms generally depend on the coating being cared for as instructed, and a dated log is the simplest way to show that care was done.
Inspection Approaches Compared
Three levels of checking a coating at one year
Owners generally choose between three approaches. Each one answers a different question, and the right choice depends on whether you need reassurance, a diagnosis, or a documented baseline for future decisions. The table below shows what each approach catches and where it stops.
| Approach | What It Checks | Where It Falls Short |
|---|---|---|
| Owner walk-around with a hose and bucket | Visible gloss, obvious dirt, and general water behavior | Misses bonded contamination, edge coverage, and light-dependent haze |
| Professional inspection with decontamination and water test | Gloss under controlled light, bonded contamination, beading after decontamination, edges and seams | No comparison baseline unless the owner kept install records and photos |
| Full inspection with decontamination, lighted review, and a written report | Everything above, plus a documented comparison against install-day photos and a written care plan | Takes longer and costs more, and delivers the most value only when install records exist |
Choosing the right level for your car
For a daily driver with a consistent wash routine, the professional inspection is usually enough. For a luxury vehicle with a high-gloss finish, or one coated after paint correction, a written report is worth the extra time. It gives you a baseline to compare against at the two- and three-year marks.
We would rather you document the coating now than guess about it later. A written baseline removes the argument about whether the paint looks different, because the photos and the notes already answer that.
When to Correct, Top Up, or Recoat
Maintenance topper and light polish
If the inspection shows light haze, uneven gloss, or fading that responds to decontamination, a maintenance topper and a light polish are usually the right fix. A topper restores surface behavior without adding a thick new layer, and a fine finishing polish removes thin marring without digging into the coating.
A topper is not a cure for a failing coating. If the water test still fails after decontamination, a topper will sit on a surface that is compromised underneath.
Signs the coating has failed and needs professional work
Failure looks like patches that no longer bead water after thorough decontamination, edges that have lifted or peeled, or a surface that feels rough once it is truly clean. When the failure is panel-wide, the cause is usually preparation or application rather than age. Those cases need a professional evaluation before anyone adds more product.
Our nano-ceramic SiO₂ coatings carry 5 to 8 year warranties, and the one-year check is where we confirm the coating is on track to meet them. Most failures we have seen trace back to surface prep, incomplete decontamination, or cure conditions, which is why our process starts there rather than with the coating itself.
Pro tip: Do not add a fresh sealant or booster over a coating that has not been decontaminated. You will lock contamination in and make the next inspection harder to read.
Frequently Asked Questions
How often should a ceramic coating be professionally inspected in Illinois?
Plan a professional check at about twelve months, then once a year after that. Illinois winters put more stress on lower panels and edges than milder climates do, so an annual look catches salt-related problems before they spread.
Can I run the water test myself at home?
Yes. Wash and decontaminate the panel first, let it cool in shade, and spray plain water across the surface. Tight, round beads that roll off quickly are a good sign. Flat sheets, slow water, or spots that stay put mean the coating needs a closer look.
Does a ceramic coating need to be reapplied after one year?
Usually not. Most coatings need a maintenance topper and proper washing rather than a full reapplication. The decision depends on the inspection results, and panel-wide failure after decontamination is the main sign that reapplication may be needed.
Does road salt damage a ceramic coating?
Road salt rarely destroys a properly applied coating on its own. It does accelerate contamination and can expose weak spots, especially at edges and seams. Rinsing lower panels and wheel wells after salt events makes a visible difference by the one-year check.
Will a one-year inspection find problems that a normal wash would not?
Often, yes. A normal wash removes surface dirt but not bonded contamination, and it does not reveal haze or micro-marring under controlled light. The inspection is designed to find those issues while they are still simple to correct.
What did your coating look like after its first full Illinois winter, and did your check turn up anything you did not expect?