Walk through any car show in the Chicago suburbs and you can usually tell within seconds whether an owner understands original paint. Classic car detailing in Illinois is not the same job as detailing a three-year-old SUV, and running a modern routine on a vintage car is one of the fastest ways to ruin a finish that cannot be replaced. The differences show up in the paint, the chrome, the upholstery, and the way the car lives between washes. Here is how we approach collector cars differently, and where the standard modern routine breaks down.
Table of Contents
- Quick Takeaways
- Why Classic Paint Behaves Differently From Modern Finishes
- Paint Correction Limits on Older Finishes
- Chrome, Brightwork, and Original Trim
- Interior Leather, Vinyl, and Original Upholstery
- Washing and Drying Without Trapping Water
- Choosing Protection for Original Finishes
- Storage and Maintenance Between Details
- Frequently Asked Questions
- References
Quick Takeaways
| Key Insight | Explanation |
|---|---|
| Many originals have no clear coat | Single-stage paint carries color and gloss in one layer, so skip aggressive compounds until you have measured the film. |
| Repaints change the rules | Ask for paint history and take thickness readings across several panels to spot a repaint or bodywork. |
| Water is the enemy of old trim | Dry behind moldings, clips, and loose mirror housings with forced air before you walk away. |
| Steam and strong cleaners damage old interiors | Use a pH-neutral leather cleaner and controlled, low-moisture methods on aged vinyl and leather. |
| Engine bays need a case-by-case decision | Cover electrical components and old wiring before any rinse, and dry the bay thoroughly afterward. |
| Protection should be reversible | Wax or sealant suits most original paint, because a coating that must be removed later means machine polishing. |
| Garage humidity matters more than wash frequency | Illinois humidity and freeze-thaw cycles do more long-term harm than a few weeks between details, so manage storage first. |
Why Classic Paint Behaves Differently From Modern Finishes
Most modern cars leave the factory with a base coat and a clear coat, a two-layer system designed to take years of washing, road grit, and sun. Many collector cars were finished in single-stage paint, where color and gloss come from one layer with no separate clear to absorb the abuse. Published guidance on vintage car care makes the same point: older cars often lack the clear coat modern owners take for granted, so they need gentler methods and dedicated products.
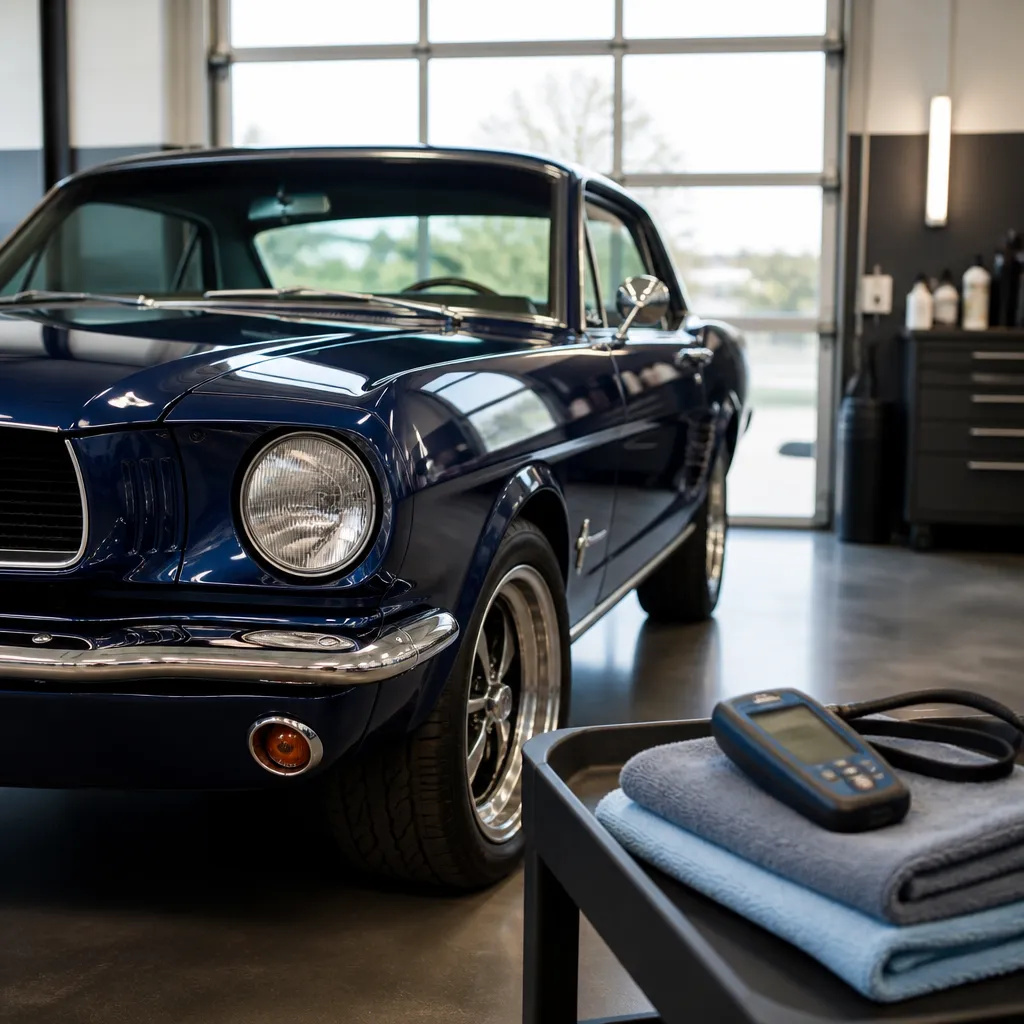
On an original finish, every cleaning step is a decision about how much of the car's age you are willing to remove.
Repaints are the other variable. Owners on enthusiast forums often note that a repaint tends to carry more film build than the factory finish, but a modern repaint may use a different product with different hardness and gloss behavior. Nobody can tell what a previous shop did unless there is paperwork, so our first step on any collector car is a conversation about history before a single pad touches the paint.
Paint history matters because it changes the whole plan. A car with a documented restoration from a known shop gets a different approach than an unknown car with a fresh coat of color and no records.
Pro tip: Ask for the paint history before the first wash. A receipt from a respected body shop tells you more than any gauge reading ever will.
Paint Correction Limits on Older Finishes
Measuring Film Thickness Before You Cut
A paint depth gauge is the first tool we pull out on a classic. Modern clear coats are often thick enough to absorb several passes of machine polishing. Older single-stage paint may have far less film to spare, and one aggressive pass on a sharp body edge can take it straight through to primer or bare metal.
We take readings across the hood, roof, door edges, and quarter panels, and we write every number down. Readings that swing widely from panel to panel usually point to a repaint or past bodywork, and that changes how cautious we get on the rest of the car.
Choosing a Cutting Approach for Single-Stage Paint
On single-stage finishes we start with the least aggressive pad and compound combination that actually moves the defect. Multi-stage machine polishing is a tool, not a default. On a 1960s finish, a light polish applied by hand is sometimes the right answer, and it costs you nothing in film thickness.
Heat is the other risk people underestimate. Keep the pad moving, check panel temperature by touch between passes, and never let a rotary sit on one spot long enough to burn through soft older paint.
When to Leave Swirls Alone
Owners often ask us to remove every swirl and every light scratch. On a car that will be shown, we talk through the trade-off before we start. Every pass removes a little paint, and paint removed in the name of perfection is paint the car never gets back. Many collectors prefer a deep, honest gloss with some character over a glassy finish with thin edges.
Pro tip: Mark a test area with painter's tape and check your results from several angles under shop light before committing to a full panel.
Chrome, Brightwork, and Original Trim
Pitted Chrome and Why Polish Is Not Always Enough
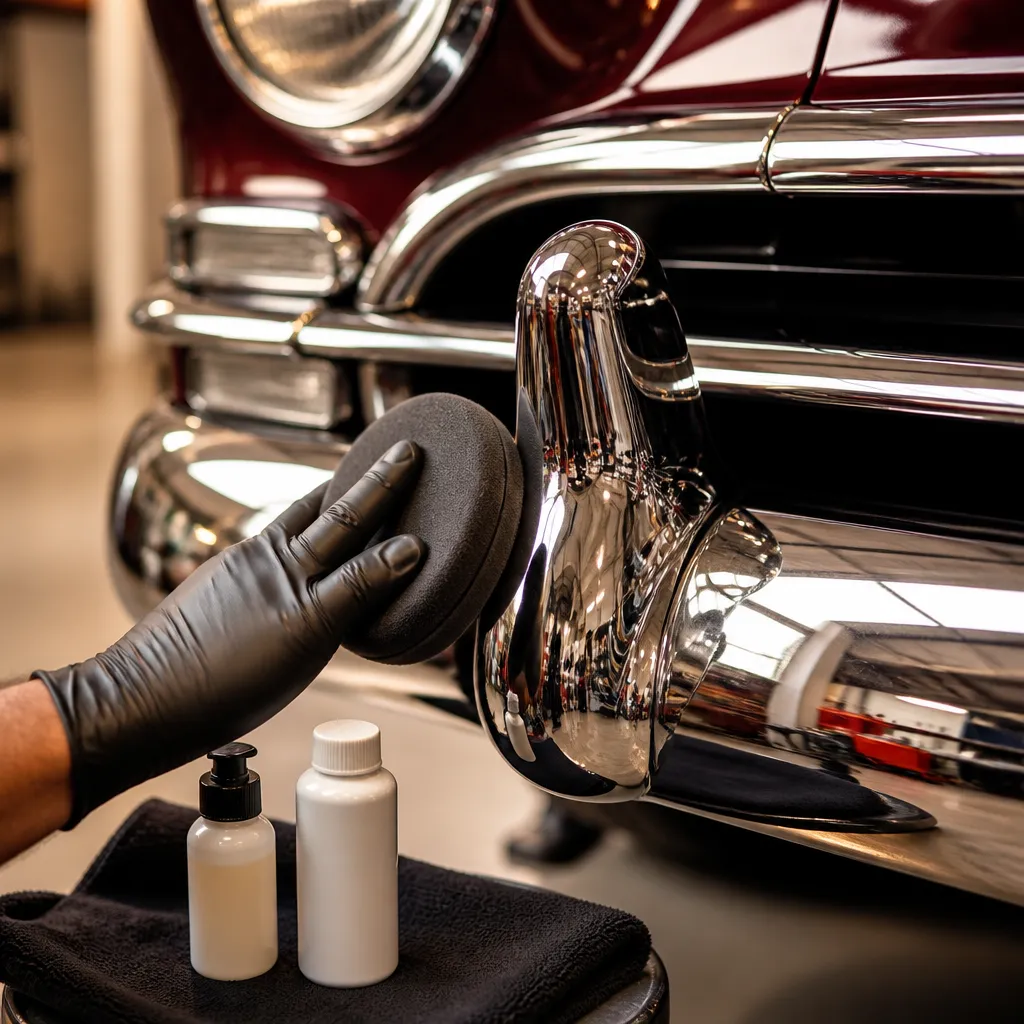
Original chrome bumpers and trim have often spent decades pitted by road salt and weather. Aggressive polish can remove the haze along with the pitting, but it also thins the plating. Once the plating is cut through to the base metal, the chrome will rust in ways no polish can fix. We stop at the point where the plating is still doing its job.
On a car that lives through Illinois winters, we also look for bubbling or flaking near the mounting points. Those spots tell us the plating is already compromised and that aggressive work will make it worse.
Drying Behind Moldings and Mirrors
Water hiding behind moldings and under loose mirror housings is the classic-car problem most modern detailers never encounter. Old rubber gaskets and clips let water sit, and it can stay there for days. Experienced owners recommend drying those spots with a blower or compressed air, but they also warn to be gentle around mirrors, because the mounts on older cars can be loose.
We work slowly around these areas and check for drips before we hand the keys back. A quick pass on a modern car is fine. On a classic, the same quick pass can leave a rust spot that starts behind a molding.
Protecting Trim From Chemical Overspray
Heavy degreasers and wheel cleaners that are harmless on modern plastic can stain older painted trim and dull anodized pieces. We test every product on a hidden area first, and we mask rubber seals and older plastic before spraying anything near them. A little tape at the start saves a lot of frustration at the end.
Pro tip: Keep a soft brass brush for the crevices around chrome. Steel brushes leave fine scratches that show up clearly in direct sunlight.
Interior Leather, Vinyl, and Original Upholstery
Cleaning Aged Leather Without Stripping the Finish
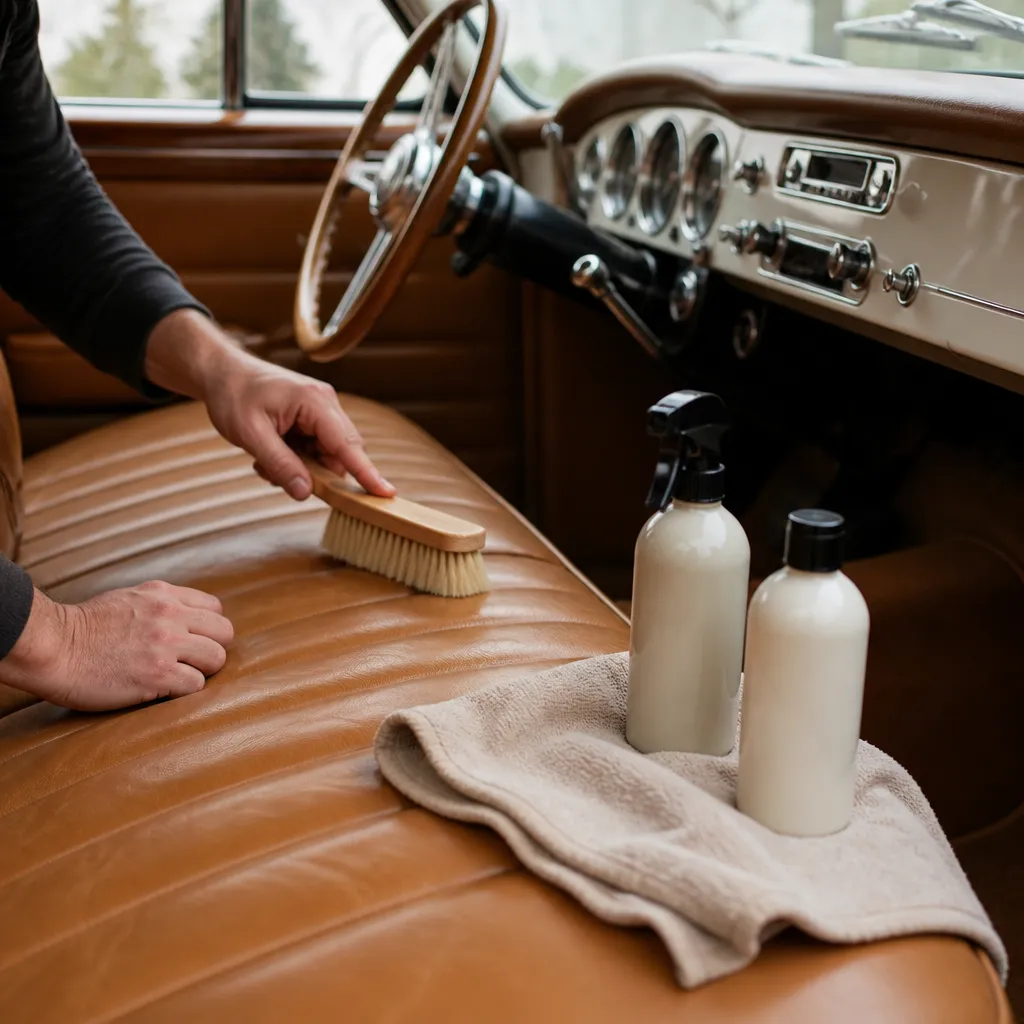
Decades-old leather is often dry underneath, and its protective top finish is fragile. Our approach is a pH-neutral leather cleaner applied to a soft brush, worked in with a light touch, and wiped away before it can soak into seams. Many enthusiasts use all-purpose cleaners on old interiors, and those can work on sturdy vinyl. On leather with a worn finish, a stronger product can strip the top coat and leave the hide exposed.
After cleaning, we condition leather lightly and wait for it to cure. Over-conditioning leaves a greasy feel and attracts dust, which is the opposite of what an original interior needs.
Why Steam Is Off the Table on Old Vinyl
Steam sounds like a shortcut, and it is the one tool we refuse to use on original vinyl. Owners who have detailed older cars warn against steamers on fifty-year-old vinyl, and we agree. Heat and moisture can make vinyl brittle, separate the backing, or loosen seams that have held for decades. We use cool, controlled cleaning and vacuum thoroughly so no moisture is left in the seat foam.
Original Carpet, Headliners, and Dash Pads
Original headliners often sag because the adhesive has failed, and scrubbing them makes the sag worse. We clean them lightly and never saturate them. Dash pads on older cars crack easily, so we keep pressure low and avoid strong solvents. Carpets can hold odors from years of storage, and we treat those with dry methods before we introduce any liquid.
Pro tip: Test every interior cleaner on the least visible area, such as under a seat rail, and wait a full hour before judging the result.
Washing and Drying Without Trapping Water
Two-Bucket Washing on Older Paint
The two-bucket method still matters on a classic, but we change the details. We use a plush wash mitt, plenty of lubrication, and short sessions by panel. We avoid working in direct sun or on hot panels, because heat dries soap onto soft paint and leaves spots that are hard to remove without polishing.
On cars with single-stage paint, we keep the mitt moving in straight lines rather than circles, which reduces the chance of adding fine marring that shows up later under the shop lights.
Drying Like You Mean It
Water is the most common source of trouble on a classic, so we dry until the car is genuinely dry, not just wiped. Forced air reaches seams, badge edges, and door gaps, and a plush drying towel finishes the panels. The goal is no standing water anywhere the car can hold it.
Illinois adds a seasonal problem. Road salt and slush hide in wheel wells, behind bumpers, and under door seals on any classic that gets driven in winter. We pay extra attention to those areas before the car goes back into storage, because moisture left there over a cold season is where rust starts.
Engine Bay Cleaning Decisions
Rinsing an engine bay on a vintage car is not automatic. Many older wiring harnesses, distributors, and carburetor linkages do not tolerate water well. Our rule is to cover electrical components, use a degreaser applied with a brush rather than high pressure, rinse gently only where needed, and dry thoroughly. For many cars, a dry clean with brushes and a protectant is the safer call.
Choosing Protection for Original Finishes
Protection is a judgment call on a collector car, and reversibility matters. A car that may be judged at a concours or sold later needs protection that can be removed without damaging the original paint. The table below compares the three options we discuss most often with owners in the Chicago suburbs.
| Protection Option | Best Fit for Original Paint | Main Trade-Off |
|---|---|---|
| Carnauba paste wax | Show cars and weekend drivers who want a warm, deep glow and easy removal | Lasts weeks rather than months, so it needs regular reapplication |
| Synthetic sealant | Cars driven regularly that need longer protection than wax without a permanent commitment | Less warm-looking than carnauba, and it still needs periodic renewal |
| Nano-ceramic SiO₂ coating | Cars whose paint has been measured, corrected, and approved for a coating, and whose owners accept a future removal process | Requires full correction first, and removing it later is a machine polishing job |
For most original finishes, we start with wax or sealant. Many owners use a wax for show days and a sealant for regular use, which keeps the paint protected without locking it into one path. The result is easier to judge and easier to change if the owner's goals shift.
Our nano-ceramic SiO₂ coatings carry 5 to 8 year warranties, and we do offer them. On a classic, though, we only recommend a coating after the paint has been measured and corrected, and only when the owner understands that removing it later means machine polishing. For a car with thin single-stage paint, that trade-off often tips the decision toward a sealant.
Storage and Maintenance Between Details
Garage Humidity and Chicago Winters
Illinois brings humid summers and cold, damp winters, and the garage often matters more than the wash schedule. Good storage is clean, dry, and properly covered, and it keeps the detail working between visits. A car that sits in a damp garage can develop problems that no amount of waxing will prevent, so we ask every client about moisture before we talk about polishing.
Covers That Breathe
Plastic car covers trap moisture against the paint, and they can hold condensation that stains and dulls the finish. We recommend breathable fitted covers that allow vapor to escape. Cover the car only after it is clean and fully dry, because a cover over dust or wet paint simply seals in the problem.
Battery, Fluids, and Driving Schedules
A collector car that sits for months can lose battery charge, and stale fuel can cause starting issues. Most owners we work with use a battery tender and start the car on a regular schedule. Driving it periodically keeps seals, brakes, and fluids working, which also keeps the interior from drying out in one spot.
Pro tip: Place a cheap hygrometer in the storage space and check it monthly. If readings stay high, fix the moisture source before you add more protection to the paint.
Frequently Asked Questions
Can I use the same products on a classic car that I use on my modern vehicle?
Some can, but you should not assume so. Many classics have single-stage paint without a clear coat, older rubber, and original trim that reacts badly to harsh chemicals. Test every product on a hidden area and choose gentler options when the finish is original.
How do I know if a classic car has been repainted?
Start by asking for paperwork and the owner's history. Then take paint thickness readings across several panels with a depth gauge. Large differences between panels, overspray on trim, or mismatched texture usually point to a repaint or bodywork.
Is it safe to wash the engine bay on a classic car?
It can be, but it is not automatic. Older wiring, distributors, and carburetor linkages do not tolerate water well. We cover electrical components, clean with a brush and degreaser rather than high pressure, and dry the bay thoroughly before the car goes anywhere.
How often should a collector car be detailed in Illinois?
Most collector cars need a full detail at the start and end of the driving season, with light maintenance washes in between. Winter road salt is the main reason to add a wash after drives. The right schedule depends on how the car is used and how it is stored.
Is a ceramic coating a good idea on a vintage finish?
It can be, but only after the paint has been measured, corrected where appropriate, and approved for a coating. Removing a coating later requires machine polishing, so owners should accept that before they commit. For thin single-stage paint, a wax or sealant is often the better choice.
What has your experience been detailing a classic car in the Chicago suburbs, and what surprised you most about its paint or trim?