Most cracked leather in luxury cars does not fail in January. It fails in the weeks before, when the seats quietly lose moisture during the first stretch of heating season and nobody notices until a fine web of lines appears across the driver bolster. Cold cabin air is part of the problem, but the bigger issue is the cycle of dry heated air, damp clothing, road salt, and long nights in the garage that keeps the surface from ever recovering. Here is how to get ahead of that cycle in the Chicago suburbs before the first hard freeze.
Table of Contents
- Quick Takeaways
- Why Cold Cabin Air Dries Out Leather So Fast
- Where Luxury Leather Cracks First
- A Conditioning Timeline for Chicago Suburb Winters
- Choosing a Conditioner That Suits Cold Weather
- Removing Road Salt and Winter Grime First
- Where Ceramic Protection Fits in a Winter Plan
- Mistakes That Make Winter Cracking Worse
- Frequently Asked Questions
- References
Quick Takeaways
| Key Insight | Explanation |
|---|---|
| Condition before the first sustained freeze | Cracks that show up in January usually began as dry leather in October. Late autumn is the window when conditioning does the most good. |
| Heated seats and cabin air are the main drivers | Heat pulls moisture and conditioning oils out of the top layer. Driver bolsters flex the most, so they crack first. |
| Clean before you condition | Product applied over a salt film or body oil sits on top, traps grit, and absorbs poorly. |
| Choose a water-based or pH-balanced product | Heavy oils and silicone-rich dressings look glossy but can feel greasy, collect dust, and do little for flexibility. |
| Plan a mid-winter top-up | The UK leather repair guide we reviewed suggests topping up protective creams every 4 to 6 weeks in winter. A single October pass rarely lasts a full heating season. |
| Coatings protect but do not replace conditioning | Protection resists stains and water. It does not restore flexibility to leather that is already dry. |
Why Cold Cabin Air Dries Out Leather So Fast
Leather is a natural material, and its fibers hold oils and moisture that keep it flexible. When those oils leave the surface, the fibers stiffen and the finish stops bending with the seat. A crack is simply the place where the top layer could no longer flex with the body.
In practice, the damage starts months before anyone sees it. Most owners notice cracks only after a dry stretch that began in early autumn and ran through the first cold weeks.
How Heated Seats and Dry Air Pull Moisture Out
Running the cabin heat on high with recirculation turned on creates very low humidity inside the car. Heated seats add a second drying effect because the element warms the hide from below and speeds up evaporation of the oils already in it.
The UK leather care guide we reviewed describes the same mechanism, noting that cold weather reduces moisture in leather and makes it stiff and prone to surface cracking, especially on bolsters and steering wheels. We see the same pattern on the cars that come through our bay in November.
The Humidity Swing That Causes Wrinkling
Leather expands and contracts with moisture. A car driven through wet slush on Monday, parked in a cold driveway, then blasted with heat on Tuesday goes through a daily humidity swing. The fibers pull in different directions, and the surface creases where the seat bends. Those creases look like wrinkles first and become cracks later.
Leather rarely cracks because it is cold. It cracks because it has been dry for too long to bend without complaint.
The swing is why steady conditions matter more than extreme ones. Keeping climate control on automatic, rather than cycling between full heat and full cold, reduces the daily stress on the hide. It helps, but it does not replace conditioning.
Where Luxury Leather Cracks First
Not every panel suffers equally. Cracks follow flex points and friction, and on most luxury interiors the first signs appear in the same few places. Knowing where to look lets you condition the vulnerable areas before the damage becomes visible.
Driver Bolster and Seat Side Wings
The driver bolster takes the weight of every turn, every entry, and every exit. Side bolsters on performance trims are often thinner or more heavily stitched, which makes them more vulnerable. If you only treat one area, treat this one.
Steering Wheel Rim and Stitched Grip Areas
Hands carry lotion, oil, and grit onto the wheel, and drivers grip it harder in cold weather. The stitch line where the leather folds over the rim is usually the first place to split. Wipe the wheel after every drive in salty conditions, since salt residue is abrasive every time you grip it.
Armrests, Door Pulls, and Seat Edges
These surfaces take friction from coats, bags, and boots. Winter outerwear carries more grit than anything else that touches your car's interior, so it wears these areas faster than summer use does. A quick wipe and a light conditioning pass each month keeps them from drying at the edges.
Pro tip: Check the seat bolsters with a flashlight held low across the surface. Fine lines that only show at an angle are the early signs, and they are the best time to condition.
A Conditioning Timeline for Chicago Suburb Winters
The right time to condition is the last mild, dry stretch of autumn, before the heat runs every day. For most owners in the Chicago suburbs, that window falls in late October or early November, which is exactly where we are now. Conditioning after the first cold snap still helps, but you are working against dryness that has already set in.
Late Autumn Deep Clean and Condition
Clean first, then condition. Use a mild leather cleaner on a soft brush or a damp microfiber cloth, then let the surface dry completely. Conditioner applied over a salt film or body oil stays on top and attracts more dirt.
Apply a thin layer with a soft, lint-free cloth. Work it into the grain in small sections, then wait the time the manufacturer lists before buffing off the excess. Over-application is a common mistake, since excess product sits on the surface and never absorbs.
Mid-Winter Top-Ups
The UK leather repair guide we reviewed recommends topping up protective creams every 4 to 6 weeks during winter. For a daily driver with heated seats, we typically recommend a light refresh every six to eight weeks, plus a lighter pass after any week with heavy snow and salt.
The pattern we see most often is a car conditioned once in October and then left alone until spring. Those interiors look fine in December and show stiffness by February. A calendar reminder is the cheapest insurance you can buy for a leather interior.
Pro tip: Set your reminder for the first warm-enough Saturday of each month during heating season. Condition the driver bolster and steering wheel first, since they absorb the most stress.
Choosing a Conditioner That Suits Cold Weather
Product choice matters as much as timing. A conditioner that feels rich in a warm showroom can turn tacky or attract lint once the heat runs all day. The categories below behave very differently once the car is sealed up in winter.
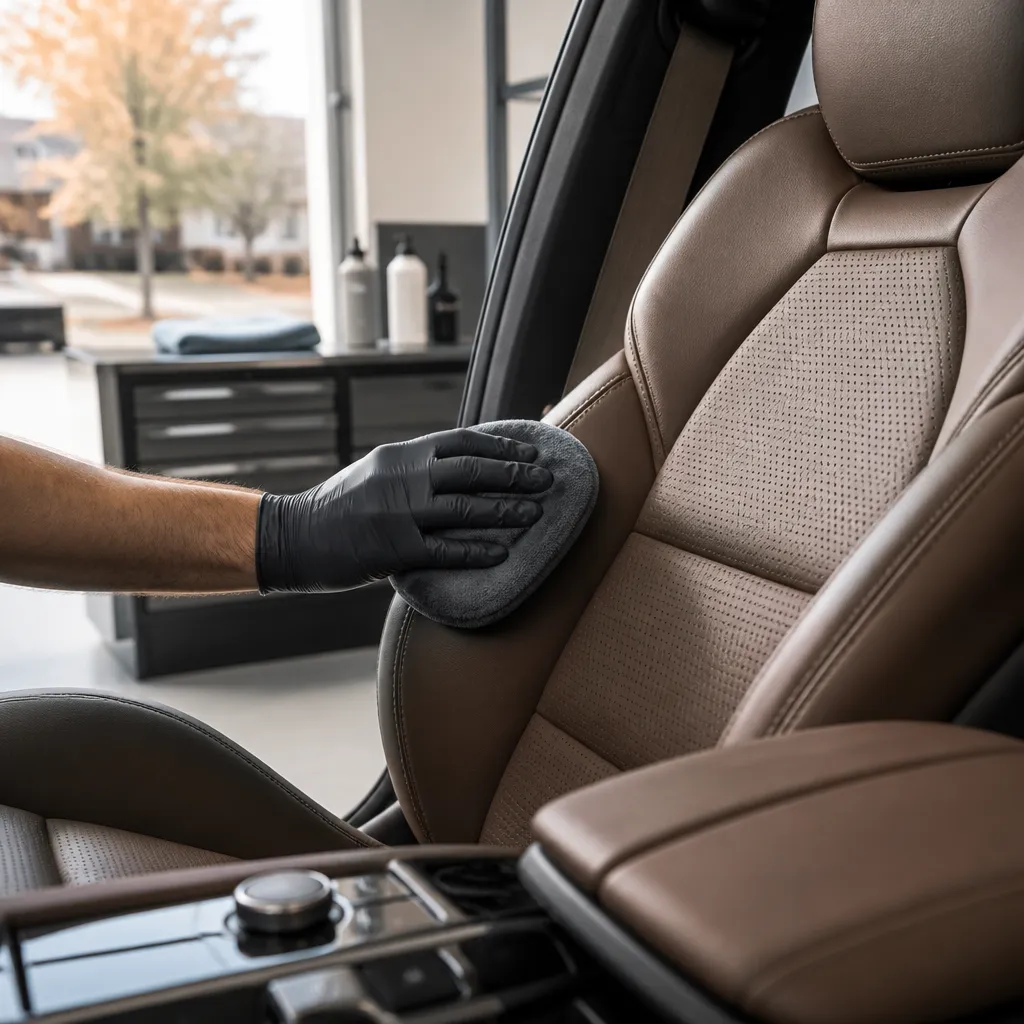
The table compares the three approaches we see most often on luxury interiors. Each works, but each fails in a different way when used the wrong way in cold weather.
| Approach | Strengths in Winter | Where It Falls Short |
|---|---|---|
| Water-based, pH-balanced conditioner | Absorbs well, leaves a natural finish, and suits frequent use on daily drivers | Needs more frequent passes during heavy heating seasons because it does not leave a long-lasting surface film |
| Cream with UV blockers | Nourishes the surface and helps against low winter sun glare on the dash and seat tops | Can feel slick if over-applied and can trap grit if the surface was not cleaned first |
| Oil or silicone-heavy dressing | Gives a quick glossy look that suits a show car finish | Makes leather feel greasy, attracts dust, and can reduce grip on the steering wheel without restoring flexibility |
For luxury interiors, our recommendation is a water-based or pH-balanced product applied in thin layers, with extra attention to the bolsters and wheel. A glossy dressing might impress at a car show, but it does little to restore the flexibility a winter interior needs.
Pro tip: Test any new product on a hidden area, such as the underside of a seat flap, and wait a full day before treating the visible surfaces.
Removing Road Salt and Winter Grime First
Road salt is the most underrated threat to leather in the Chicago suburbs. Salt carried in on boots and wet coats forms a film mixed with grit, and that abrasive layer scrapes the surface every time someone sits down. Conditioning over it defeats the purpose.
Why Salt Changes the Timing
Salt draws moisture out of leather, which is the same drying effect you are trying to reverse. After a salty drive, clean the driver seat, the steering wheel, and the armrests before the residue has time to dry into the grain. Waiting until the weekend usually means scrubbing harder, and harder scrubbing is what wears the finish.
The UK guide we reviewed specifically names the driver bolster, steering wheel, and armrests as the high-contact areas that need more frequent cleaning in winter. We agree, and we add the seat edges where salt collects in the seams.
Cleaning Without Stripping the Finish
Avoid all-purpose household cleaners, which often contain alkaline agents or solvents that strip the protective topcoat. Use a leather-specific cleaner, and keep the liquid off the stitching and seams as much as possible. Work in small sections with light pressure, then wipe with a clean damp cloth and let the surface dry.
Leather that has been stripped too often looks dull and feels rough. Once the topcoat is gone, the hide absorbs dirt and moisture unevenly, and conditioning has less to hold onto. Gentle cleaning is part of the conditioning process, not a separate chore.
Where Ceramic Protection Fits in a Winter Plan
Ceramic coatings are best known for exterior paint, and many owners ask whether they help interiors. The honest answer is that they play a different role from conditioning. We offer professional ceramic coatings with 5 to 8 year warranties, and the warranty terms depend on the scope of work and the product applied.
What Protection Does Well in Winter
Protective layers resist water spotting and make dirt and salt release more easily. That matters because it means less grit grinding into the leather when you wipe down a wet seat or wheel. A surface that sheds liquid is simply easier to keep clean through a long, messy season.
What Protection Does Not Do
Protection does not restore flexibility lost in a dry hide. It is a barrier, not a moisturizer. If the leather is already stiff, the sequence matters: condition first, then protect, so the barrier sits over a surface that is already in good shape rather than locking in dryness.
Pro tip: Before paying for any protection service, ask for the product data sheet and confirm whether it is rated for leather interiors or only for paint. A product built for paint may not suit the grain of a leather seat.
Mistakes That Make Winter Cracking Worse
Most winter leather damage comes from habits, not bad luck. The same few mistakes show up on cars that look great in October and tired by March, and each one is easy to correct once you know what to watch for.
Running Heated Seats on High Every Day
Heated seats on the highest setting for every commute dry the hide faster than most owners realize. Use the lowest setting that keeps you comfortable, and switch off the seat heat once the cabin warms up. Shorter, lower-heat sessions cause less moisture loss than long, maximum-heat ones.
Ignoring Wet Clothing and Floor Mats
The UK guide we reviewed notes that wet jackets, damp trousers, and melting snow transfer moisture and dirt onto seats, leading to dye transfer, water marks, and mould. Wipe seats weekly during winter with a soft cloth, and avoid sitting on leather in soaked clothing when you can. A simple wipe prevents stains that become expensive repairs in spring.
Storing the Car With Damp Mats
A closed car with wet floor mats and snow-soaked boots is a humid box. Dry the mats fully before storing the vehicle, and pull them out for a few hours after a snowstorm. Trapped moisture against leather is one of the fastest ways to invite mould in a closed garage or driveway.
None of these habits require special equipment. They require consistency, and the cars that hold up best through winter are the ones whose owners treat the interior as part of the regular routine rather than a spring project.
Frequently Asked Questions
How often should I condition leather seats in a Chicago suburb winter?
Plan on a full clean and condition in late autumn, then a lighter top-up roughly every six to eight weeks during heating season. Add an extra pass after any week with heavy snow or salt, since that is when the hide loses the most moisture.
Can I condition leather seats when the car has been sitting in the cold?
It is better to work in a garage or sheltered space where the leather is dry and not frozen. Cold product thickens and sits unevenly, and wet or icy leather will not absorb conditioner properly. Let the cabin warm up gently first, then clean and condition.
Will conditioner repair cracks that have already formed?
Conditioning softens fine surface lines and slows further drying, but it cannot close a deep crack or rebuild a damaged topcoat. Shallow lines often improve with consistent care. Deep cracks, peeling, or exposed foam usually need a professional repair.
Do I need a conditioner with UV protection in winter?
Yes, especially on cars that see low winter sun through the windshield. Low sun angles can hit the dash and upper seat surfaces for long stretches, and UV protection helps reduce fading and drying on those areas. Choose a product that lists UV protection clearly on the label.
Does a ceramic coating replace leather conditioning?
No. A coating helps the surface resist stains, water, and grime, but it does not restore lost flexibility. Condition the leather first, then apply protection, so you get both the moisture balance and the barrier.
Is a heavy, glossy dressing a good choice for winter?
Usually not for daily driving. Heavy dressings can leave leather feeling greasy, collect dust, and reduce grip on the steering wheel. A water-based or pH-balanced conditioner applied in thin layers is a better fit for winter use.
What did your leather look like after last winter, and which step made the biggest difference for you?
References
- Winter care guide covering hydration, moisture, and road salt for leather interiors
- Article on why regular leather conditioning matters and how to apply it
- Guide to how climate affects leather seat covers and how to protect them
- Winter leather care tips on conditioner amount and application frequency
- Guide to removing salt and debris from leather during winter cleaning